Showing posts with label Tutorial. Show all posts

Friday, July 5, 2013

The Bow Clutch


I started out by making the black and green bow clutch.  And I LOVED how it turned out!!


At the same time I was in the process of getting a birthday present ready for someone and I thought it needed something else to go with it, so I decided to make one of these for her, so I made the brown & tan one above.  I think it turned out pretty cute, too:)


They're not perfect, but I still think they're pretty nice:)  Especially when I haven't done all that many zippers in my lifetime.


This is the inside of the black and green one . . more of the green stripes . . so fun!!


And the inside of the tan and brown one . . . a brown printed fabric.

I now want to try some more of these . . . maybe some different sizes or with a ruffle on the front or something.

The tutorial I used can be found here, if you want to make one yourself:)

And as always, have a wonderful day!!

Saturday, April 9, 2011

Tutorial: Making an Embellished Folder w/ Handmade Tangs

When Tara & I started exercising, we needed something to keep track of our exercise, weight, etc., to make sure we were doing what we were supposed to.  I went to where all the school supplies are kept to try to find a folder with tangs, but there was only blank folders with pockets on each side, no tangs.  So I decided to make my own.

What you need:
Blank folder
3 long brads (so they'll hold more paper)
Scrapbooking paper
Pen
Ribbon
Staples
Any other embellishments to decorate

Extra tools:
Ruler
Some sort of sharp edged point (like a pin - I have a scrapbooking thing)


1. Take a ruler and measure your folder to find the lengh.  Decide how far away from the edges you want your edge brads, and then from that, find the center spot.

2.  Mark the spots you found in part one with a pen.

3.  Using the sharp edged point tool, poke a hole through just the front of the folder.


4.  Use your scrapbook paper and cut/tear out to desired size.  Glue/tape onto the folder in desired area.  You may want to use a lively scrapbook paper - then you won't even have to embellish it hardly to make it cute:)

5. From the inside of the folder, using your sharp edged point tool, poke through the scrapbook paper.  From the front, put your brads through the holes and close them.


6.  Using a stapler, take a length of ribbon and measuring with your pen, staple the ribbon in place so the pen will fit in place.  This way, you'll always have a pen with your folder so you won't have to go searching around for a pen to use.

7.  Embellish your folder in any other desired way.

8.  Make holes in the proper part of the paper you want to put in the tangs of the folder and put them in your folder.

And that's it - you're done!!!

This is, I know, a simple tutorial, but it's also very helpful when you don't have any folders with tangs around when you need them!


Hope everyone has a wonderful weekend!  I don't want to go back to school Monday, but I guess I have to anyways:)

*Linking up to Linky Parties on my side bar.*

Wednesday, March 23, 2011

Sandal Make-over Tutorial

Do you remember this?  Well, I'm giving you the tutorial now!

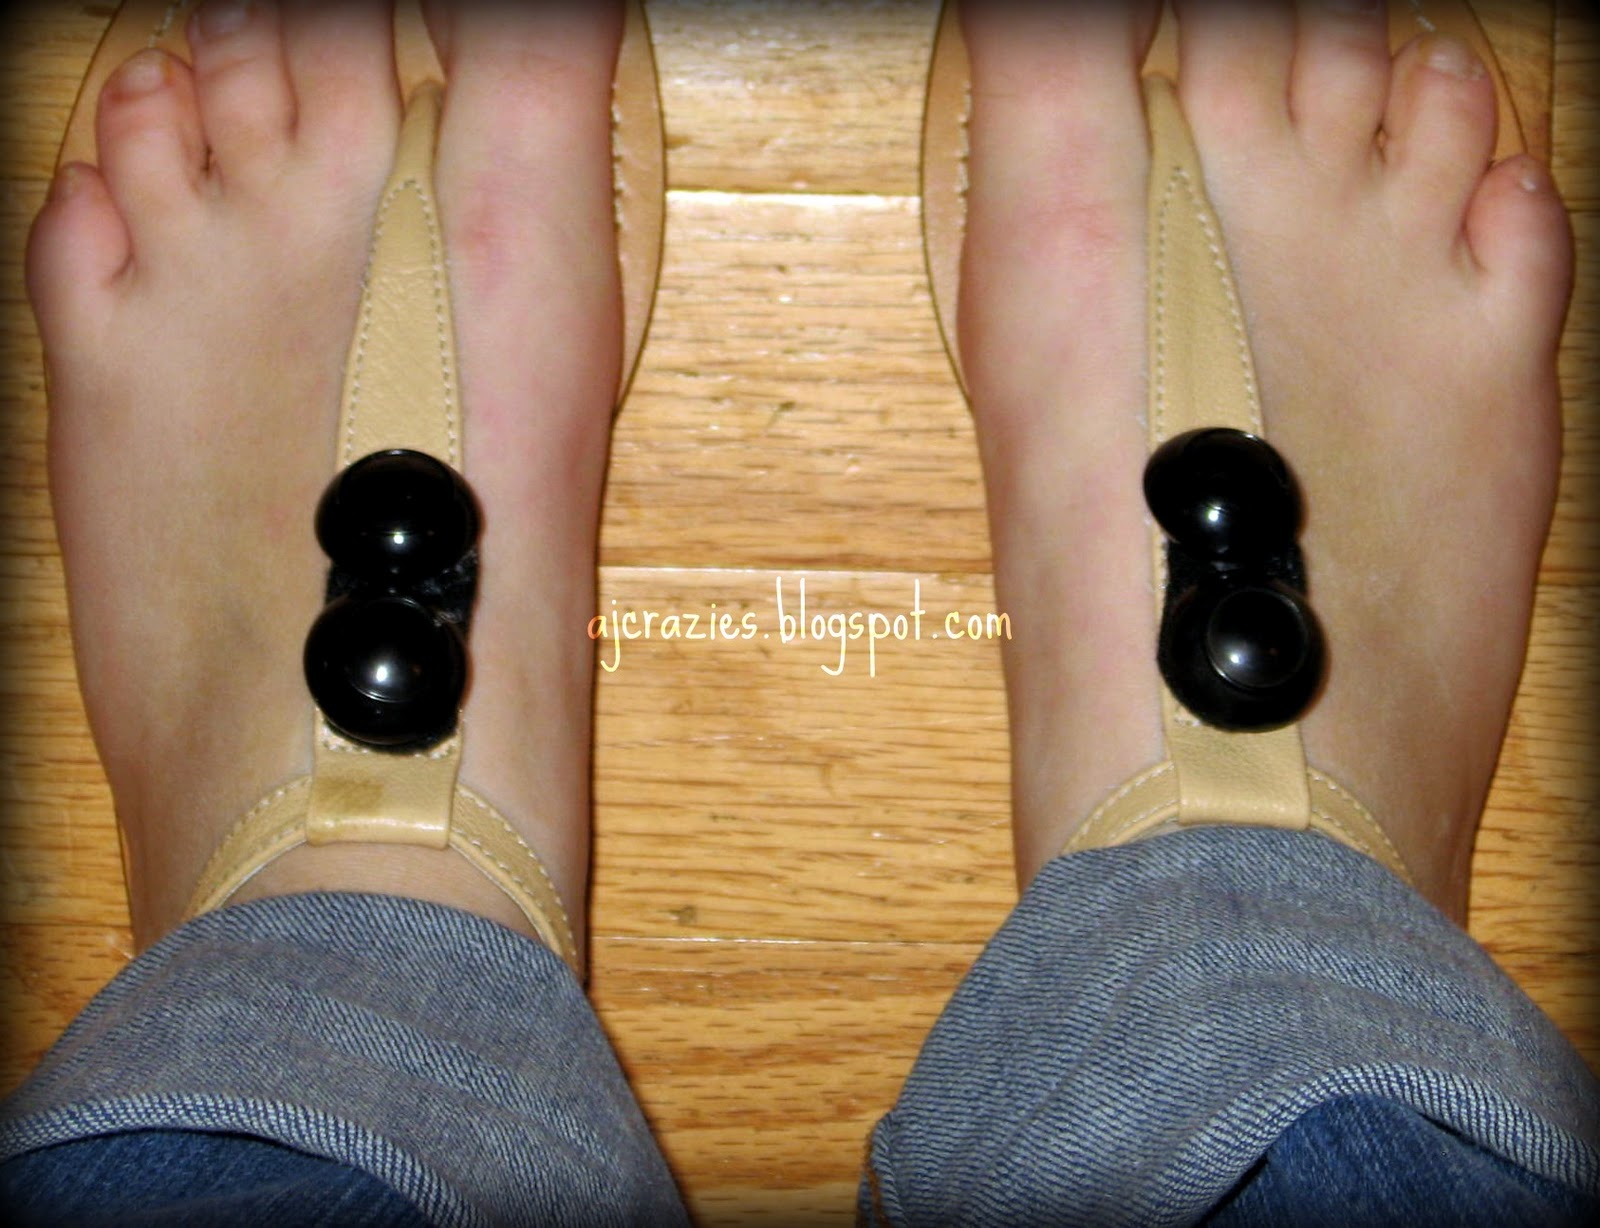
Late last year, I bought a pair of sandals from Old Navy for $1 or $2.  I actually bought 2 pairs, one of which I'm doing the tutorial for - the other ones were fine the way they were.  Anyways, this pair of sandals, I noticed when I got home, had little dangle things as embellishments and I realized on one of the sides, a bunch of them must have fallen off.  I first thought it would be fine to wear them that way, but then I decided I wouldn't want to.  Then I thought I could just cut them off and wear them plain . . . but that's a little boring though, and it also shoes little wholes where the other embellishment was attached - - and that was when I thought of making my own interchangable embellishments.

How fun is that?  A embellishment to go on your shoes that you can change to match each and every outfit!  You could also do this with other types of shoes, like flats!

1. Okay - so first you're going to get a pair of sandals  -  you can see mine above.

2.  Cut off the embellishments already there, if there are any.  In the picture above, you can see the little holes I was talking about.

That was where the project stopped for me for quite a while, because I was waiting until we got some E-6000 glue.

3.  With E-6000 glue, glue a small square of velcro onto desired place of sandal.

4.  If you haven't already, make your embellishments for your shoes.  I already had this done, and you can make more whenever you want!  I used handmade fabric & lace flowers, buttons, etc.

5.  Glue with either E-6000 glue, or hot glue, the other side of velcro to embellishments.  If the back of your embellishment is backed in felt, like mine is, I recommend using hot glue.  I used E-6000 glue on 3, and hot glue on one I made after doing all this, and it seemed to work faster.  In the long run, I guess I'll see if one works better than the other, or if they both work.  (I just hope they're long lasting!)


Rolled Fabric Flowers

6.  Now all you need to do is wear your wonderful new sandals & have fun with new embellishments.  I love them and how I can change the embellishment to match my outfit.  There are so many possibilities.


Rolled Fabric Flowers


2 Buttons (glued onto felt)

Lace Flowers (Love 'em)!!
I can't wait until the weather is nice enough to wear them!

Note:  I have seen similar tutorials for similar things, but I wanted to make my own to show you what I did.  I'm not trying to copy anybody or anything!

So enjoy the tutorial and go make yourself some prettied up shoes.  I, personally, am going to be looking out for other sandals, flats, etc., to be doing more things like this!

Have a wonderful day - here it's quite beautiful & I should go outside again.  I went outside for a while, but it got kind or boring riding my bike back and forth on the driveway and I couldn't find the basketball:(  But it felt wonderful - about 50 degrees & the wind whipping all over me *wonderful*


Saturday, February 12, 2011

Headband & Hair Clip Holder Tutorial


I started this a LONG time ago, but then I got stuck along the way about how to do something.  Then today, I saw it, and I thought of an idea on how to make it work, and it worked!  So I finished it up and now it's hanging in my bedroom!


1. Pick out a frame.  I got this frame for free from a thing at our church.  It really had a mirror in it, but I didn't like the shape that much.  A long, skinny frame works best for this.

2. Take apart the frame.  Get rid of any glass.

3. I didn't do this, but you should probably sand the frame so the paint will stick to it.  Spray paint the frame and back piece the color of your choice (it might be cute to use different colors, but I'm not sure).  You may need to do a couple coats of paint.

4. Optional - while your paint is drying, relax and drink some tea and eat dried apples:)  Or you could be good and go clean or something, but I didn't exactly feel like doing that!

(I don't have pictures of the next few steps.)

5. Assemble the frame back together once the frame is dry.

6. Take a really sticky tacky tape that's double-sided (I used some kind of tape that has red on the outside piece that you peel off.  It's around a round cardboard thing.  It's clear tape.)  and put a piece on the frame all the way to the back from one side.  Tie a few knots in grosgrain ribbon and stick it on to the frame all the way to the back.

The picture above hopefully better shows/tells you what you're supposed to do.  It's hard to explain it without pictures!

7.  Then, lastly, you hang up the headband and hair clip holder with all the goodies (hair clips & headbands) and hang it up on the wall!  For the hair clips, just clip them to the ribbon.  For the headbands, I used tiny clothespins to clip them to the ribbon.  Obviously, if you haven't noticed, I don't have very much hair clips right now:)


I had fun with this and now I have a cute and handy way to store my headbands & hair clips!  I'm so excited I finally got all the wrinkles smoothed out and figured out a way to make this work!

Monday, February 7, 2011

Black Pearl Headband

A while ago I saw someone from schools headband - from my church, too, but I saw it at school:)  So I kind of just decided to copy it.  I think it's probably my best job of trying to make something similar or like I've seen of something else.

This headband I saw had a look of ribbon rapped around it, so I grabbed some black grosgrain ribbon, and started hot gluing it around the elastic headband.  I wrapped it around about 1/2 of it.  I glued it on the back side every time I went around to make sure it would be secure.  Then I found some little pearl things and sewed them on every so far, using the same strand of thread for the whole thing.  Then I quickly made one of my little puffy flower things and sewed or glued that on (I really don't remember how I attached it).

It turned out really cute (I think so, anyway), and it was really quick and easy to make.  The wrapping of the ribbon around the elastic headband took a long time to do, but it wasn't at all difficult, just timely.

By the way, I took these pictures in front of a mirror, and it just didn't work to good, and they look horrible:(  Sorry for the bad quality pictures.


(Don't like this picture, but you can see the headband pretty good in it.)

If anybody would like one of these headbands, but don't want to take the time to make one, just email me about it.  My email is on the Custom Orders tab on the side.

I hope you have enjoyed:)


And I'll leave you with this picture of my cute little brother, Walker.  And yes, his shirt is telling the truth:)
"My Dad can fix ANYTHING."


Tuesday, February 1, 2011

Vintage Baby Gift Tin Tutorial

I really appreciate what blogging has done for me!  I feel as though it makes me be more craftier and try new things.  Now today, I have a tutorial for everybody.  It all started when I was searching through my random stuff in my room and found this Christmas tin container thing.  I don't use it very much, so I figured that I should cover it somehow and use it as a gift tin.  My first thought was to make it a "Happy Birthday!" tin, but then I thought it would be fun to make a baby vintage look one, that goes perfect with some cards I've made before, that I had really fun with.


1.  Start with an empty tin that you have just sitting around taking up space . . . or go to a thrift store and get one for cheap.


2. Get a color of your choice of paint to apply to the tin.


3. Let the paint partially dry, leaving it just a little damp.


4. If you would like, now add accents with a different color to the paint.  If you have light paint, use a darker color for accents, and if you have a dark paint, use a lighter color as the accent color.


To get the effect I have here, I first put brown paint into the white to get a brown/tan color.  I let that dry all the way, and then put streaks of the brown paint in to get the streaky dark and light colors.

5.  Now, if you have paint in either your lid or your tin, use a wet paper towel to wipe it out.  You want your tin to look nice both inside and out, since you will be giving it to somebody.


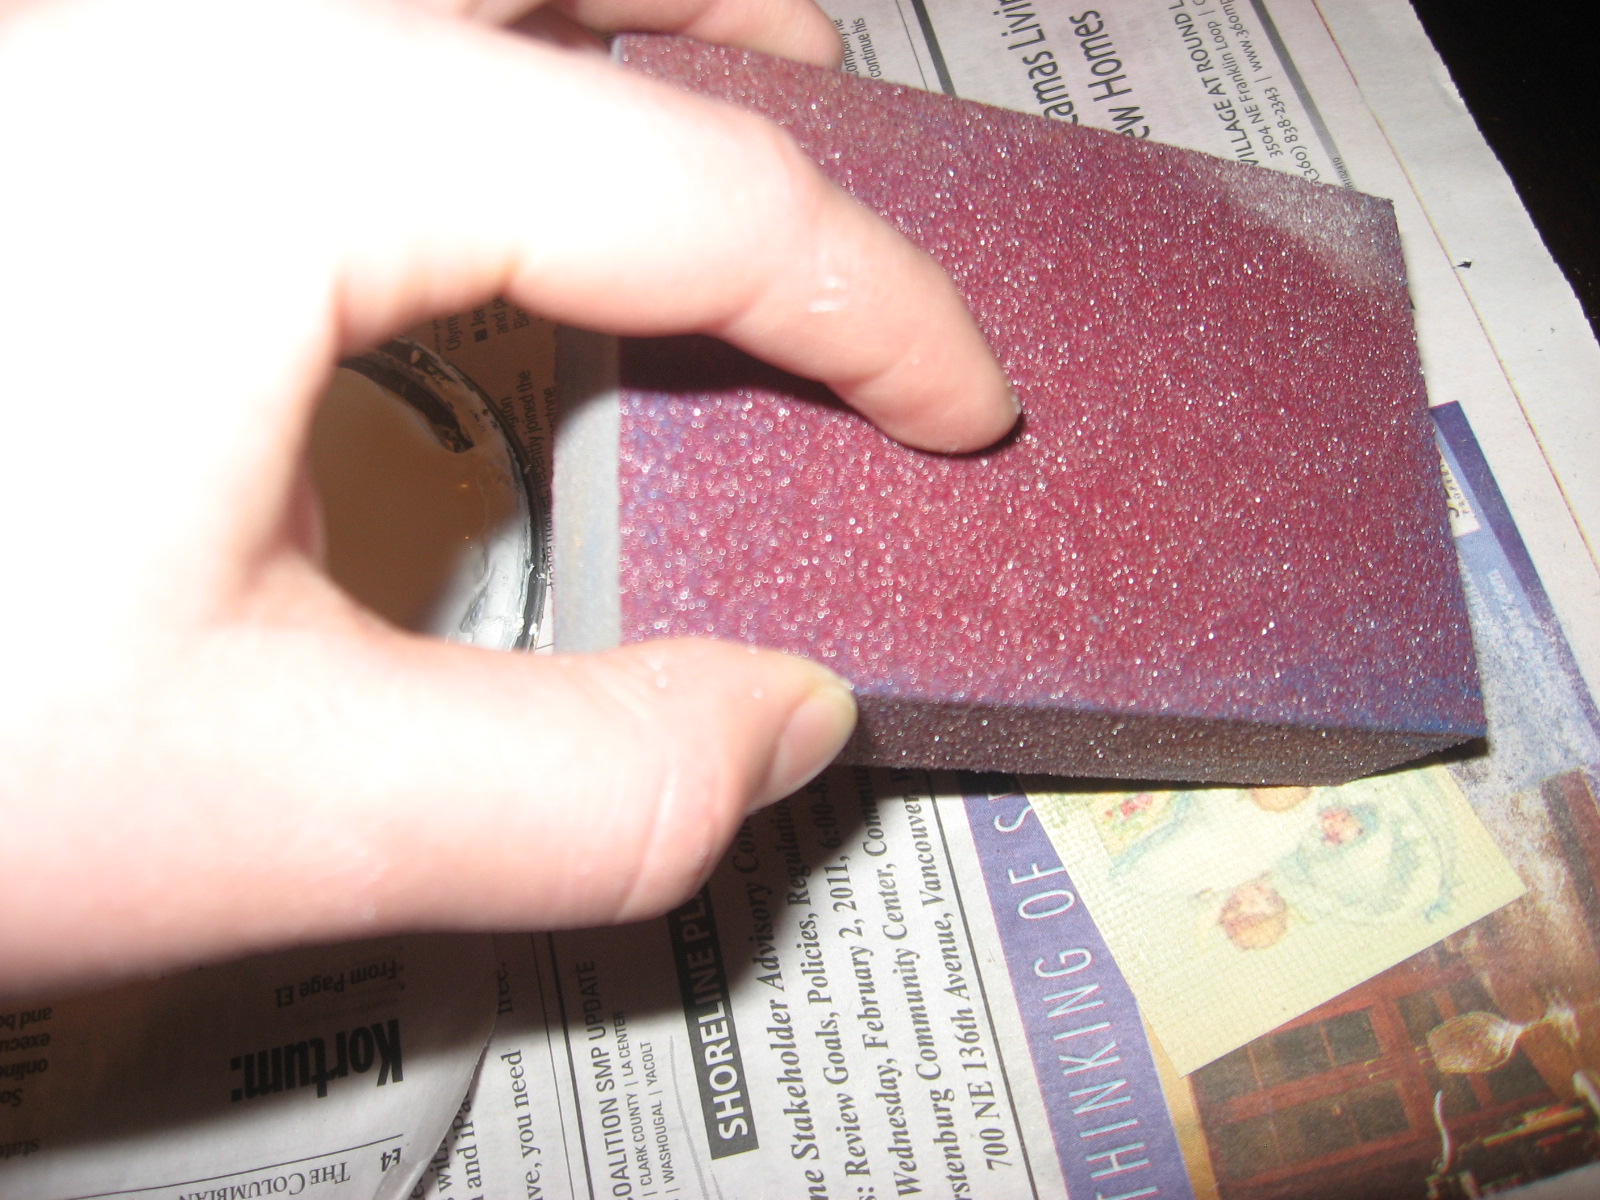
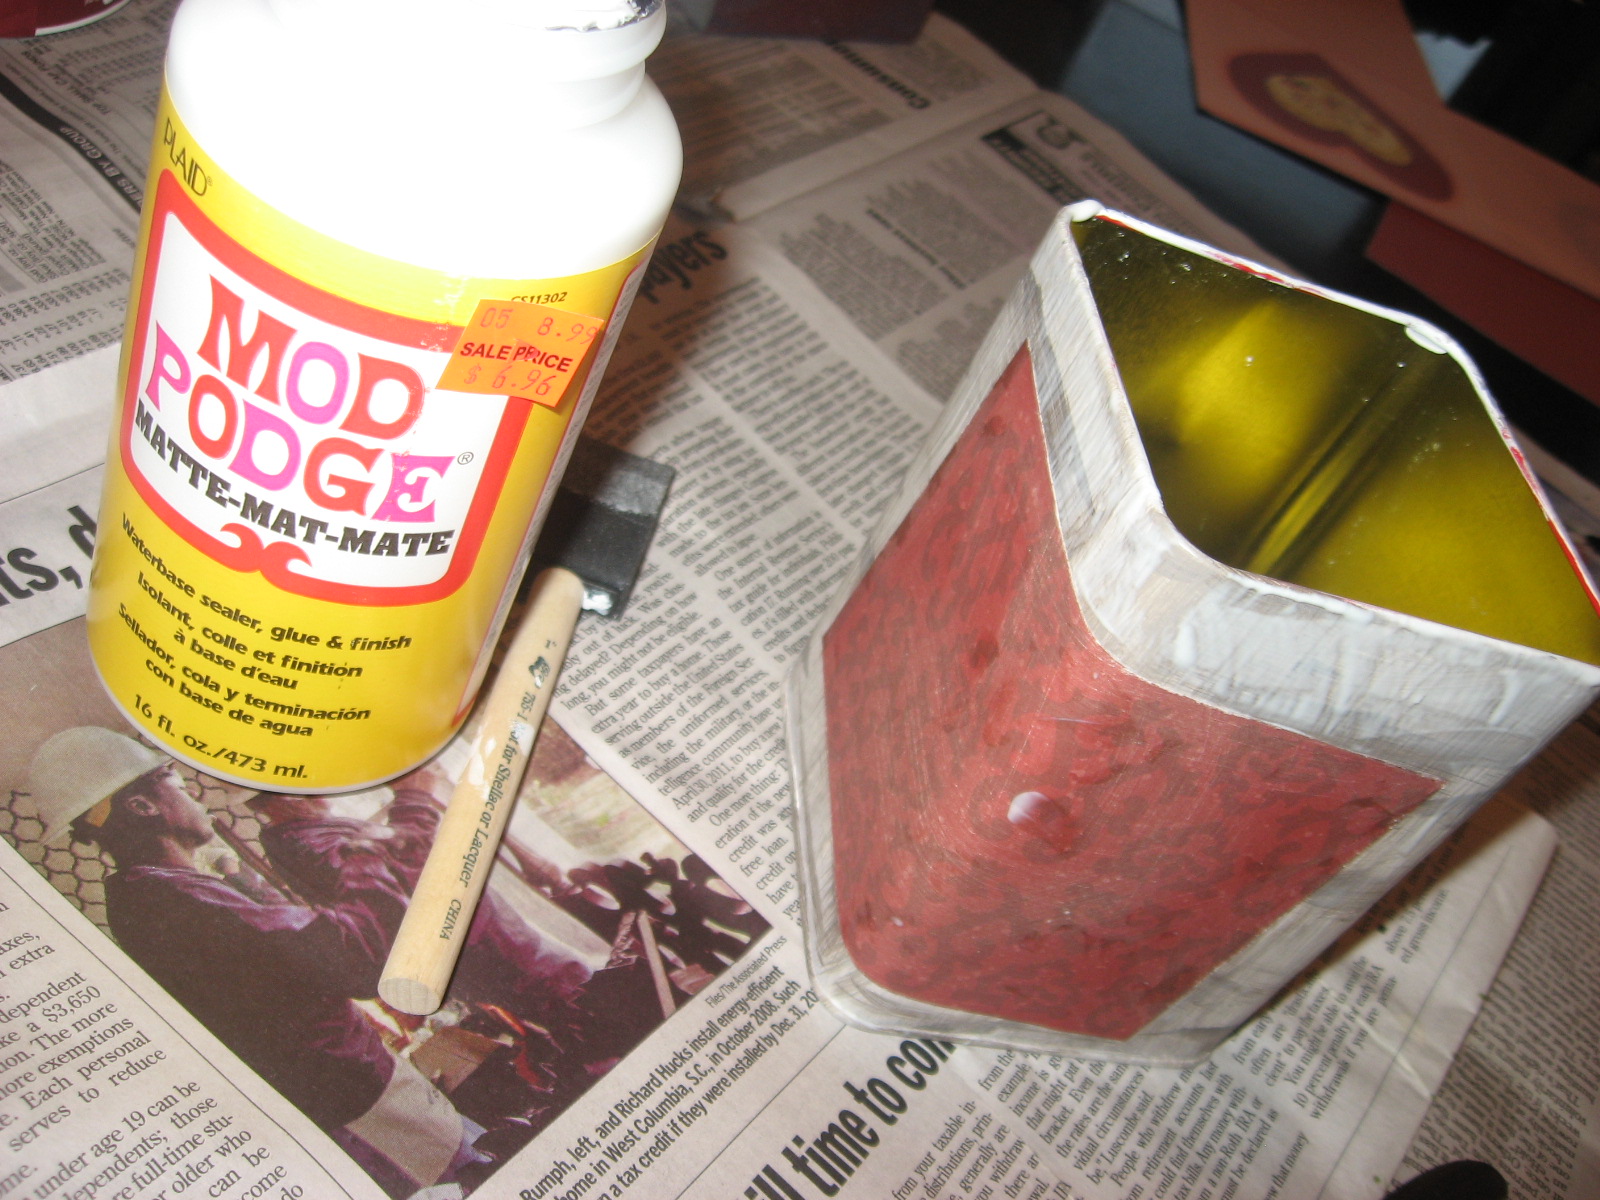
6. Now, if you haven't already, choose paper to go with your tin and paint colors.  Cut out the desired size.  I chose a piece that was a bit shorter than two of the sides in width.  For this vintage look, I sand all my pieces of paper.  Now you get to use mod podge!  Mod podge down your piece of background paper.


7. Find all the other pieces of paper you want to put on.  I have a heart, a picture of a vintagey-looking baby in a cradle with a little angel standing beside it, and a piece of paper that has a message, saying "Just For Baby!"  I used the type-writer to write my message for a more vintage look.  Mod podge all these pieces down where you want them to go.


8. Mod podge the whole outside of the tin, to give it the same feel - it'll look and feel better.  Now would be the time to add any decorations to the cover of the tin, but I just chose to keep it plain.  Modge podge the cover, also.  Let the mod podge dry.

9.  Add any embellishments you want.  I tied a couple strands of twine around the tin, added a flower with a button in its center, and a button that looks like a scissor.

The look of the twine in the back - it was layed over each other in parts.


9.  Fill your tin with goodies for the person who's going to receive it.  If you have a baby tin, fill it with little pairs of shoes, hats, hair clips (I sale  both of the kinds pictured below, if you're interested), or baby toys.  For a birthday or holiday gift, fill it with appropriate items.  This would work great for a valentines gift!


I hope you have enjoyed:)

Please email me pictures here if you make a tin!  I would love to see them:)