Saturday, February 12, 2011

Headband & Hair Clip Holder Tutorial


I started this a LONG time ago, but then I got stuck along the way about how to do something.  Then today, I saw it, and I thought of an idea on how to make it work, and it worked!  So I finished it up and now it's hanging in my bedroom!


1. Pick out a frame.  I got this frame for free from a thing at our church.  It really had a mirror in it, but I didn't like the shape that much.  A long, skinny frame works best for this.

2. Take apart the frame.  Get rid of any glass.

3. I didn't do this, but you should probably sand the frame so the paint will stick to it.  Spray paint the frame and back piece the color of your choice (it might be cute to use different colors, but I'm not sure).  You may need to do a couple coats of paint.

4. Optional - while your paint is drying, relax and drink some tea and eat dried apples:)  Or you could be good and go clean or something, but I didn't exactly feel like doing that!

(I don't have pictures of the next few steps.)

5. Assemble the frame back together once the frame is dry.

6. Take a really sticky tacky tape that's double-sided (I used some kind of tape that has red on the outside piece that you peel off.  It's around a round cardboard thing.  It's clear tape.)  and put a piece on the frame all the way to the back from one side.  Tie a few knots in grosgrain ribbon and stick it on to the frame all the way to the back.

The picture above hopefully better shows/tells you what you're supposed to do.  It's hard to explain it without pictures!

7.  Then, lastly, you hang up the headband and hair clip holder with all the goodies (hair clips & headbands) and hang it up on the wall!  For the hair clips, just clip them to the ribbon.  For the headbands, I used tiny clothespins to clip them to the ribbon.  Obviously, if you haven't noticed, I don't have very much hair clips right now:)


I had fun with this and now I have a cute and handy way to store my headbands & hair clips!  I'm so excited I finally got all the wrinkles smoothed out and figured out a way to make this work!

Friday, February 11, 2011

Blog Awards

I am so excited!  The lovely Christina of The Tattered Tag gave me two blog awards!  Thank you so much, Christina!

I was given two blog awards:


Here's how the awards work:

Thank and link back to the person(s) who bestowed the awards

Share 7 random things about yourself

Nominate 15 other awesome bloggers

Contact those bloggers and inform them about the awards

So, I guess I'll get at that:)

First, the 7 random things about myself are:

1. I am the 3rd of 11 children in my family.
2. My favorite color is a bright/hot pink.
3. I really want to get my own room and decorate it black, white, bright pink, and maybe a lime green.
4. I wish I had my own camera.
5. I want to start sewing more and making some clothes (I actually ordered some fabric for a skirt a couple days ago).
6. I love to go on vacation over summer break.
7. I was going to go on a run a while ago (because I haven't in FOREVER) and I still might:)

And I now nominate these awesome bloggers!

1.  Nichelle @ Vintage Wanna Bee
5. Tasha @ Creation Corner
6. Aubree @ Yellow Blackbird
7. Ashlee @ Little Miss Momma
11. Da Nita @ Delightful Order
12. Kelsey @ Tattered and Inked
13. Ramona @ Stenersen Daily Life
14. Kaia @ Kaia's Life
15. Sarah @ Welcome to the Good Life

Go check out all their awesome blogs!

Thursday, February 10, 2011

What's Been Happening Around Here . . . Cookies!

This last Tuesday I made some delicious cookies ~ well, I think so anyways!  They're called Molly's Chocolate Chip Cookies.  They have oatmeal in them, along with everything else that's in cookies:)  If you want the recipe, just ask.  I'd be glad to put a recipe on her for you all!


A while back (before I made the choc. chip cookies), I made some molasses cookies and dipped some of them in white chocolate and candycane.  SOOO NUMMY!!!  I absolutely love them!  I brought some of them to my P.E. teacher, Mr. Carlile, because I know he likes that kind of cookie:)


And by the way, the inspiration for making the chocolate chip cookies came from seeing Nadine's blog header, which has a bunch of sugar cookies on it.  I was going to make sugar cookies, but I didn't feel like taking the time to cut them out and frost them . . . yes, I know, I am lazy:(

And tomorrow, I plan on getting something new in my Etsy Shop!

Here's a sneak peak:


Hope everyone has had a wonderful week!!!


Monday, February 7, 2011

Black Pearl Headband

A while ago I saw someone from schools headband - from my church, too, but I saw it at school:)  So I kind of just decided to copy it.  I think it's probably my best job of trying to make something similar or like I've seen of something else.

This headband I saw had a look of ribbon rapped around it, so I grabbed some black grosgrain ribbon, and started hot gluing it around the elastic headband.  I wrapped it around about 1/2 of it.  I glued it on the back side every time I went around to make sure it would be secure.  Then I found some little pearl things and sewed them on every so far, using the same strand of thread for the whole thing.  Then I quickly made one of my little puffy flower things and sewed or glued that on (I really don't remember how I attached it).

It turned out really cute (I think so, anyway), and it was really quick and easy to make.  The wrapping of the ribbon around the elastic headband took a long time to do, but it wasn't at all difficult, just timely.

By the way, I took these pictures in front of a mirror, and it just didn't work to good, and they look horrible:(  Sorry for the bad quality pictures.


(Don't like this picture, but you can see the headband pretty good in it.)

If anybody would like one of these headbands, but don't want to take the time to make one, just email me about it.  My email is on the Custom Orders tab on the side.

I hope you have enjoyed:)


And I'll leave you with this picture of my cute little brother, Walker.  And yes, his shirt is telling the truth:)
"My Dad can fix ANYTHING."


Saturday, February 5, 2011

What I don't Want to do . . . & Cheesy Bacon Bites Recipe

Okay - so you all know those kinds of days where you know you need to clean and do stuff but you just do NOT feel like doing it so you just kind of sit around and don't do what you're supposed to be doing??  This is one of those kinds of days for me - I don't really know what I WANT to do, but I do know that I don't want to do what I SHOULD do:(  So, I randomly come on here and put on a blog post:)  So, maybe to make this blog post worth something other than just some random writing . . . I think I'll give you one of those recipes that I gave you a sneak peak about before!  The truth of the matter is though, I was going to give you all a recipe for some delicious chicken salad and share with you a picture of some cookies I made on Thursday, but I just don't feel like loading the pictures on the computer, etc:(  So instead I'll share with you the recipe for Cheesy Bacon Bites!


Cheesy Bacon Bites (on top right)
 Cheesy Bacon Bites

1 package (8 oz.) cream cheese, softened
1/8 tsp. black pepper
1/2 cup cooked, finely chopped bacon
2 tbsp. finely chopped green onion
1 package Pillsbury refrigerated crescent rolls
1/4 cup cheddar cheese

Preheat oven to 350.  Combine all ingrediants in a medium sized bowl. Seperate crescent rolls in two rectangles.  Spread cream cheese mixture on each rectangle and roll it up like a cinnamon roll, starting at the longest side, and then seal the edge.  Cut each roll into 16 slices.  I start by cutting it in half, then each piece in half again and then again and then one last time.  That should give you 16 even pieces.  Place the slices cut side down on a cookie sheet.  Bake them for 15 minutes or until golden brown.  Serve warm.  Makes 32 appetizers.

This is a great party food:)

Now,  I really need to get cleaning those bathrooms that need some cleaning:( because otherwise I'm not going to get to go to town later . . . and I haven't been to town in FOREVER!!!  Anyone want to come over and do it for me  . . . ?!? 


Aimee Jaylene

Thursday, February 3, 2011

Ramblings of My Week

This week I've simply spent my time going to school, crafting a bit, going to Ramona's, and reading. 

So for school, I've started this project about dinosaurs in science - no that is NOT exciting at all:(  For English, we're reading a play called The Miracle Worker about Annie Sullivan helping Helen Keller learn to communicate.  Geometry we finished the chapter we're working on and took the chapter test today.  Textiles and Apparel we started to use the machines today by sewing on paper.  Yeah, that's school, and really not all too exciting.

We went to Ramona's yesterday since we had a Waiver Day.  Who ever came up with the idea of having the no school days in the middle of the week - why not have it on a Monday or Friday so we can have a long weekend???  We went for lunch and Clara was also there.

I finally got some new books to read.  A few Love Inspired books came from the library and more should be coming so I'll get to keep having some good books to read.  For a while I've been reading books that I've already read before, which is fine, but it's always funner to read new books:)

So what have all you been doing lately?  Hope you've had a fun week so far!!!

Tuesday, February 1, 2011

Vintage Baby Gift Tin Tutorial

I really appreciate what blogging has done for me!  I feel as though it makes me be more craftier and try new things.  Now today, I have a tutorial for everybody.  It all started when I was searching through my random stuff in my room and found this Christmas tin container thing.  I don't use it very much, so I figured that I should cover it somehow and use it as a gift tin.  My first thought was to make it a "Happy Birthday!" tin, but then I thought it would be fun to make a baby vintage look one, that goes perfect with some cards I've made before, that I had really fun with.


1.  Start with an empty tin that you have just sitting around taking up space . . . or go to a thrift store and get one for cheap.


2. Get a color of your choice of paint to apply to the tin.


3. Let the paint partially dry, leaving it just a little damp.


4. If you would like, now add accents with a different color to the paint.  If you have light paint, use a darker color for accents, and if you have a dark paint, use a lighter color as the accent color.


To get the effect I have here, I first put brown paint into the white to get a brown/tan color.  I let that dry all the way, and then put streaks of the brown paint in to get the streaky dark and light colors.

5.  Now, if you have paint in either your lid or your tin, use a wet paper towel to wipe it out.  You want your tin to look nice both inside and out, since you will be giving it to somebody.


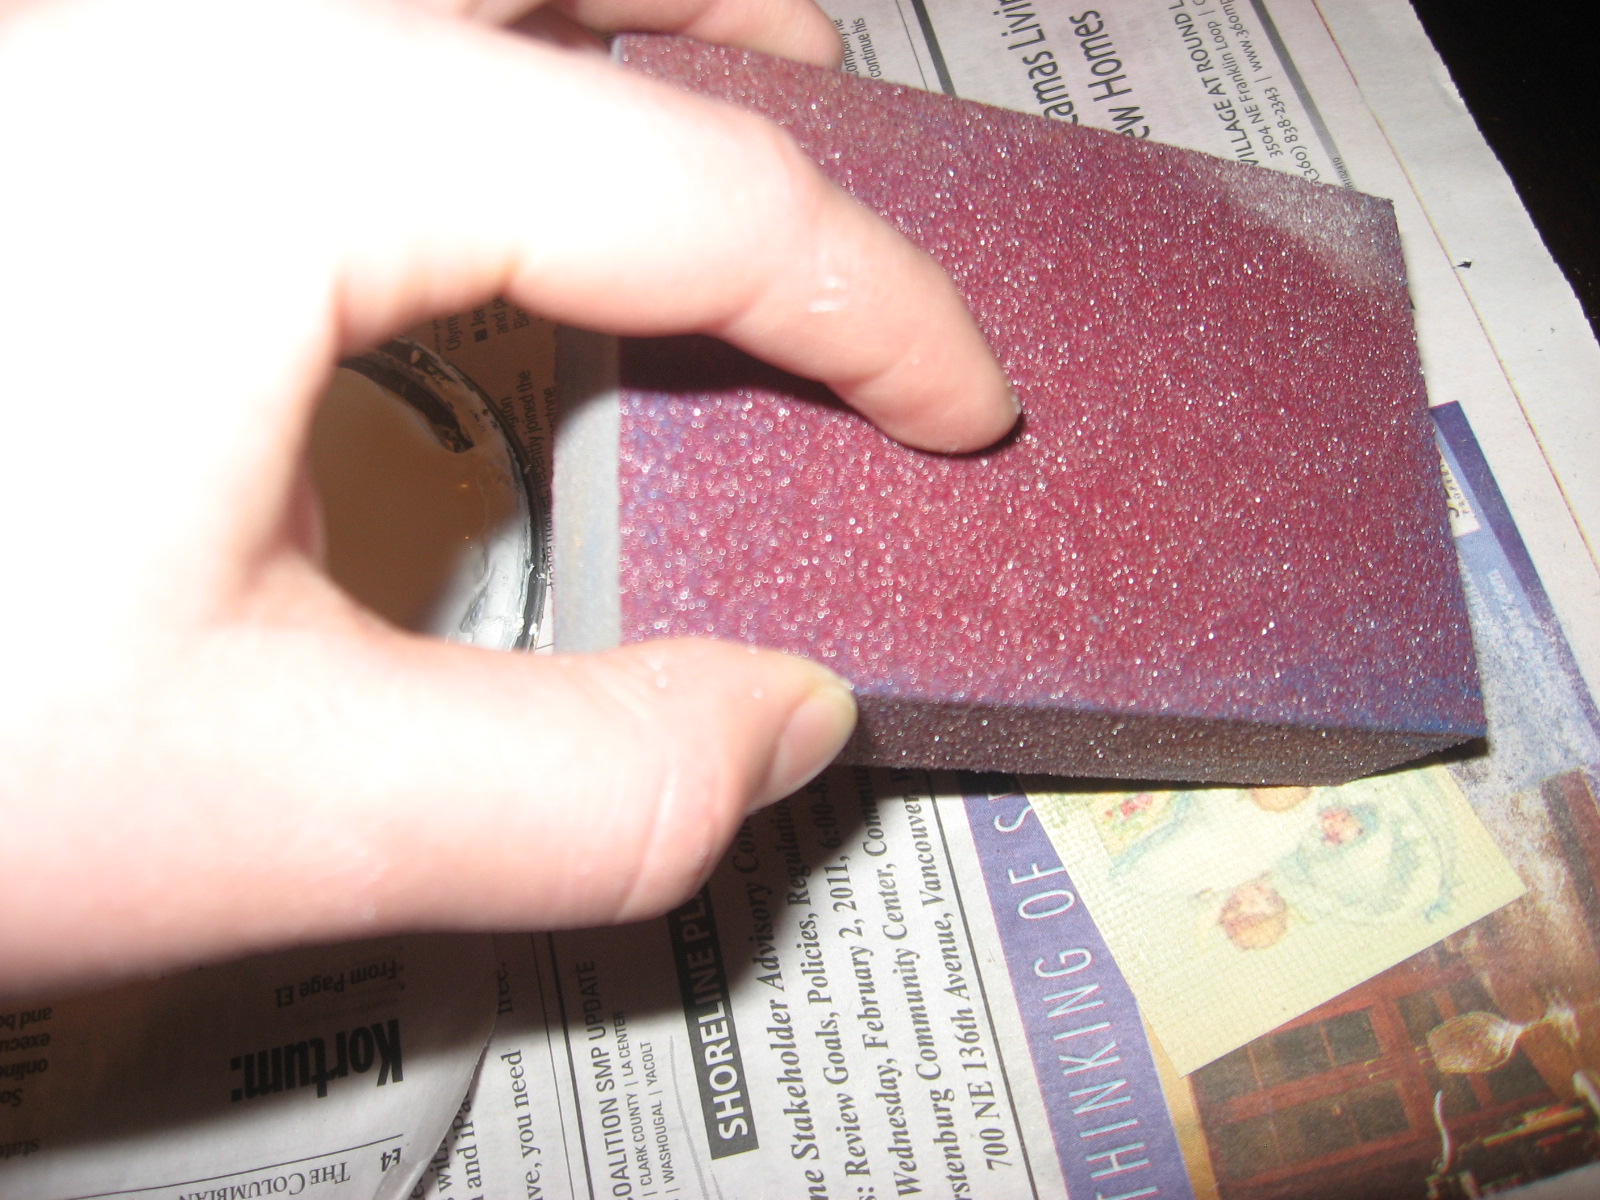
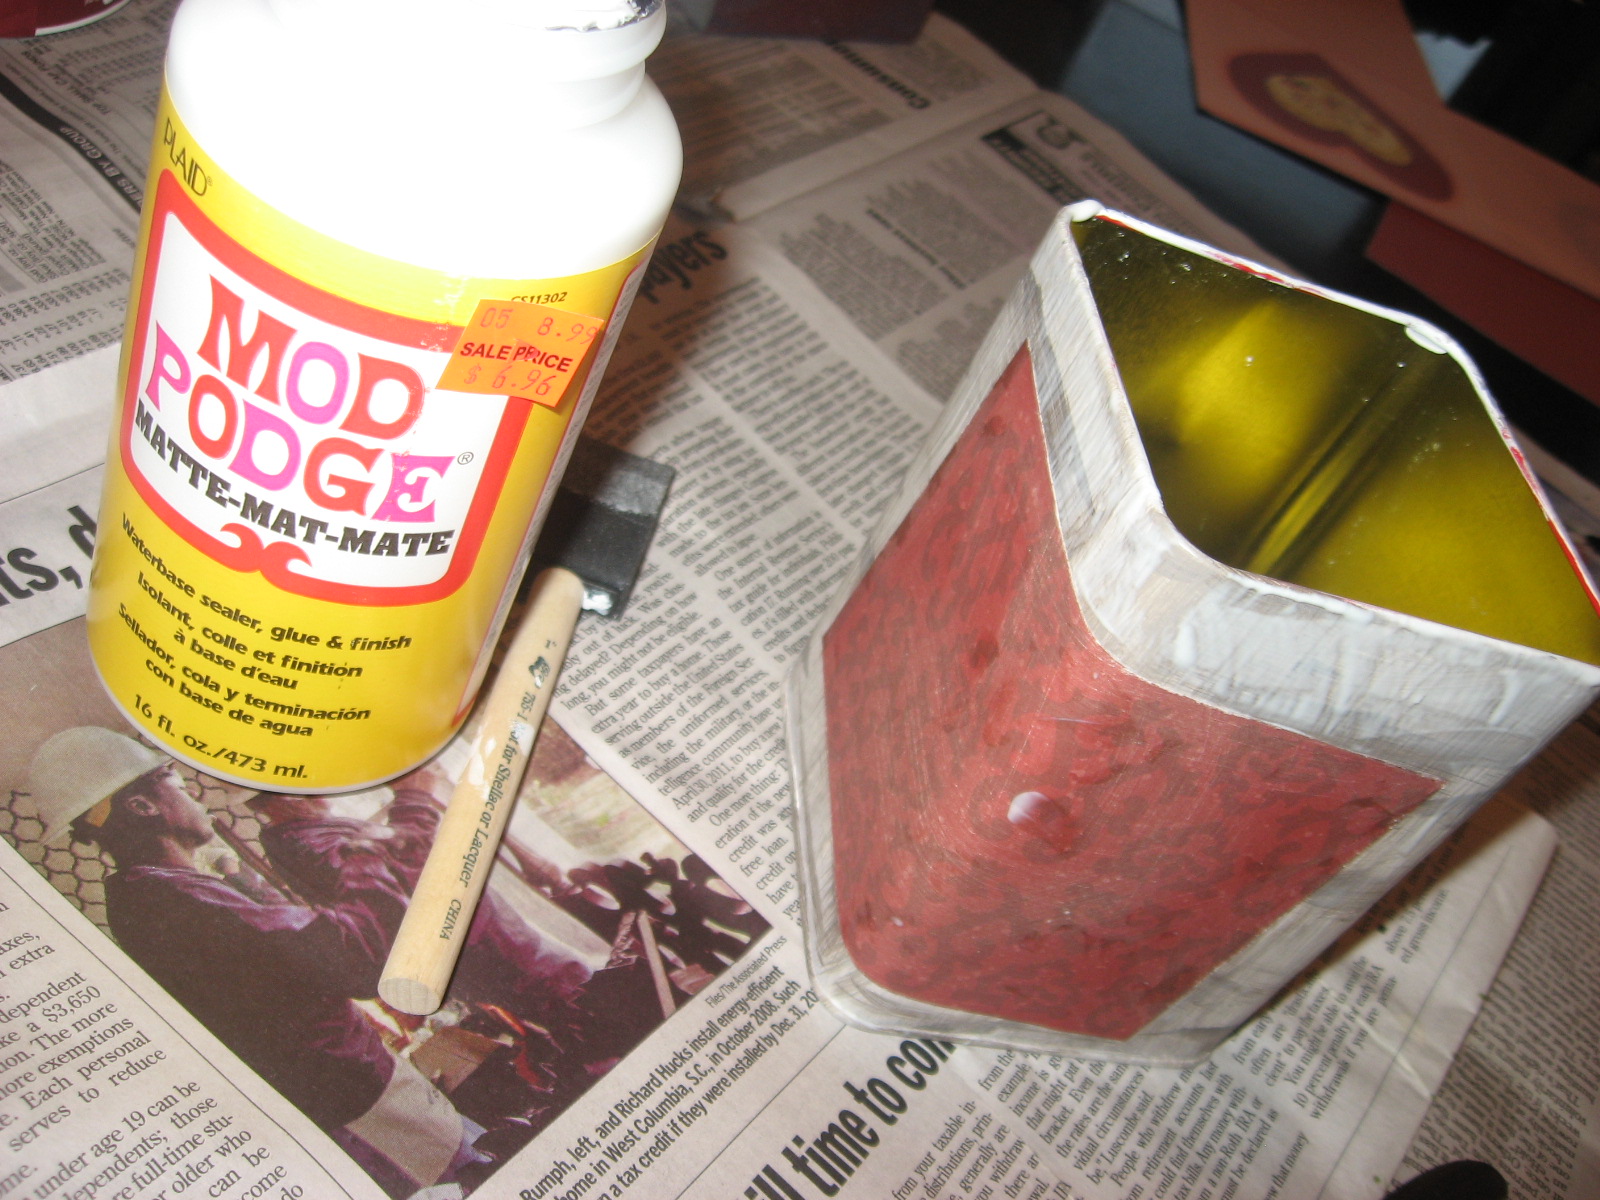
6. Now, if you haven't already, choose paper to go with your tin and paint colors.  Cut out the desired size.  I chose a piece that was a bit shorter than two of the sides in width.  For this vintage look, I sand all my pieces of paper.  Now you get to use mod podge!  Mod podge down your piece of background paper.


7. Find all the other pieces of paper you want to put on.  I have a heart, a picture of a vintagey-looking baby in a cradle with a little angel standing beside it, and a piece of paper that has a message, saying "Just For Baby!"  I used the type-writer to write my message for a more vintage look.  Mod podge all these pieces down where you want them to go.


8. Mod podge the whole outside of the tin, to give it the same feel - it'll look and feel better.  Now would be the time to add any decorations to the cover of the tin, but I just chose to keep it plain.  Modge podge the cover, also.  Let the mod podge dry.

9.  Add any embellishments you want.  I tied a couple strands of twine around the tin, added a flower with a button in its center, and a button that looks like a scissor.

The look of the twine in the back - it was layed over each other in parts.


9.  Fill your tin with goodies for the person who's going to receive it.  If you have a baby tin, fill it with little pairs of shoes, hats, hair clips (I sale  both of the kinds pictured below, if you're interested), or baby toys.  For a birthday or holiday gift, fill it with appropriate items.  This would work great for a valentines gift!


I hope you have enjoyed:)

Please email me pictures here if you make a tin!  I would love to see them:)